
Note: If you use a VPS to install AlmaLinux, buy VPS with proper resources to avoid facing issues when installing your platforms like cPanel.
Introduction:
AlmaLinux
a community-driven and completely open-source operating system, serves as a perfect alternative for CentOS users seeking a stable, reliable platform. If you’re planning to install AlmaLinux on VMware, you’re in the right place. This guide will walk you through each step of the installation process, ensuring a smooth experience for both beginners and experienced users.
Step 1: Downloading AlmaLinux ISO Image
The first step is to download the AlmaLinux ISO image from the official website. Navigate to the downloads section and choose the appropriate version based on your system architecture.
Step 2: Installing VMware
If you haven’t already installed VMware on your system, you need to download and install it. VMware offers both free and paid versions, so choose the one that suits your needs. Follow the installation instructions provided by VMware for your operating system.

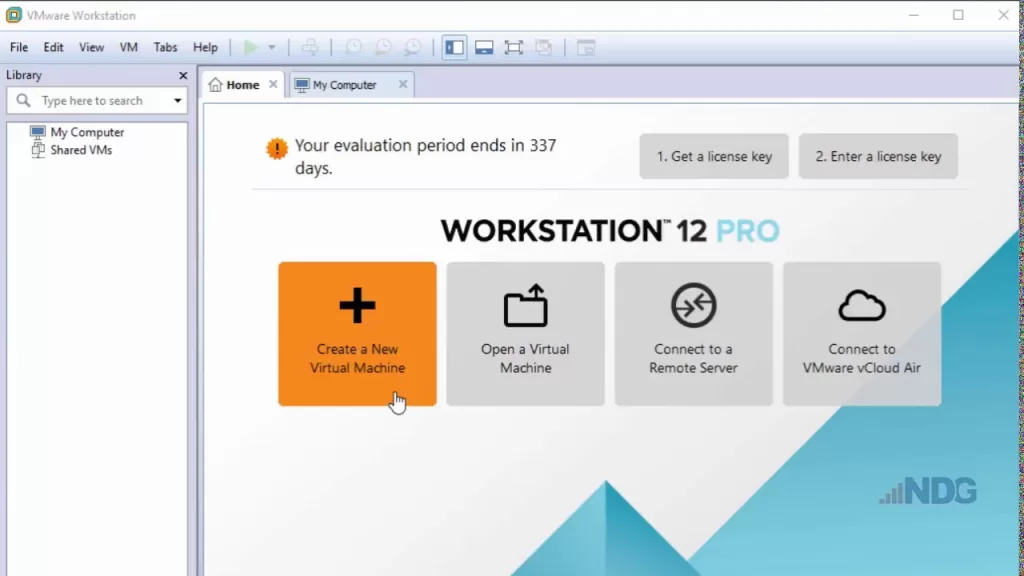
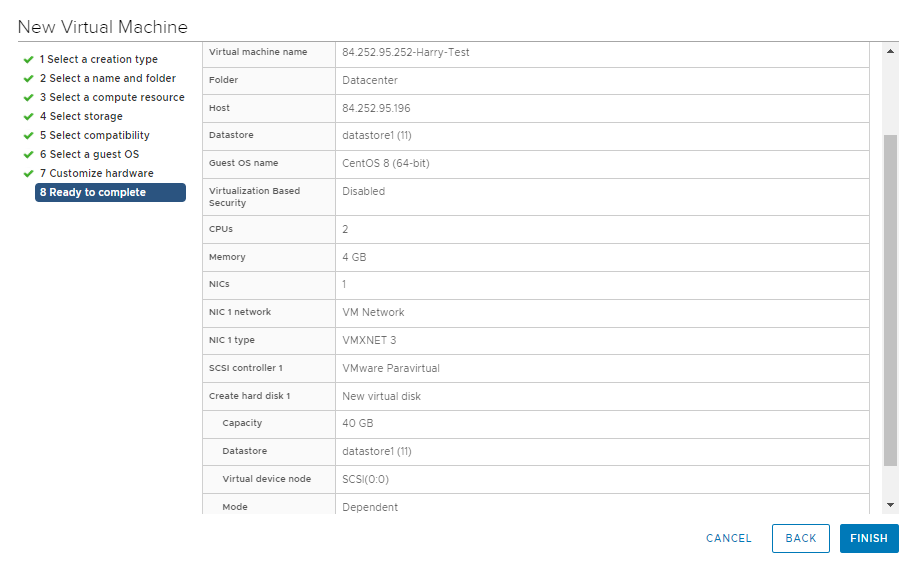
Step 3: Creating a New Virtual Machine
Launch VMware and click on “Create a New Virtual Machine” to start the setup process. Choose “Typical” configuration for simplicity unless you have specific requirements.
Step 4: Selecting the ISO Image
In the “Guest Operating System Installation” window, select “Installer disk image file (iso)” and click “Browse” to locate the AlmaLinux ISO image you downloaded earlier. Select the ISO file and proceed.
Step 5: Configuring Virtual Machine Settings
Allocate system resources such as RAM, CPU cores, and storage space according to your requirements. Ensure you allocate sufficient resources for smooth performance.
Step 6: Customizing Hardware
Before completing the setup, you may want to customize hardware settings such as network adapters, USB controllers, and display options based on your preferences.
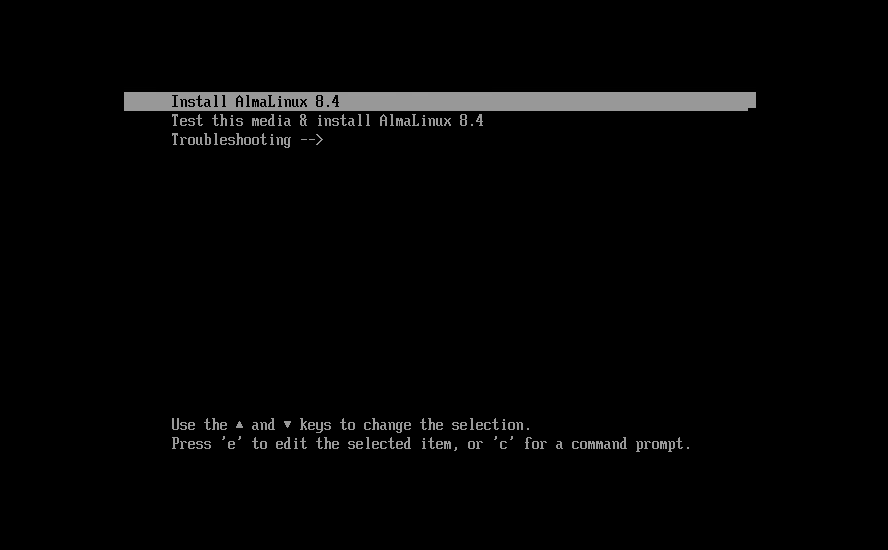
Step 7: Starting the Installation Process
Once you’ve configured the virtual machine settings, click “Finish” to start the installation process. VMware will boot from the AlmaLinux ISO image, and you’ll see the AlmaLinux installer screen.
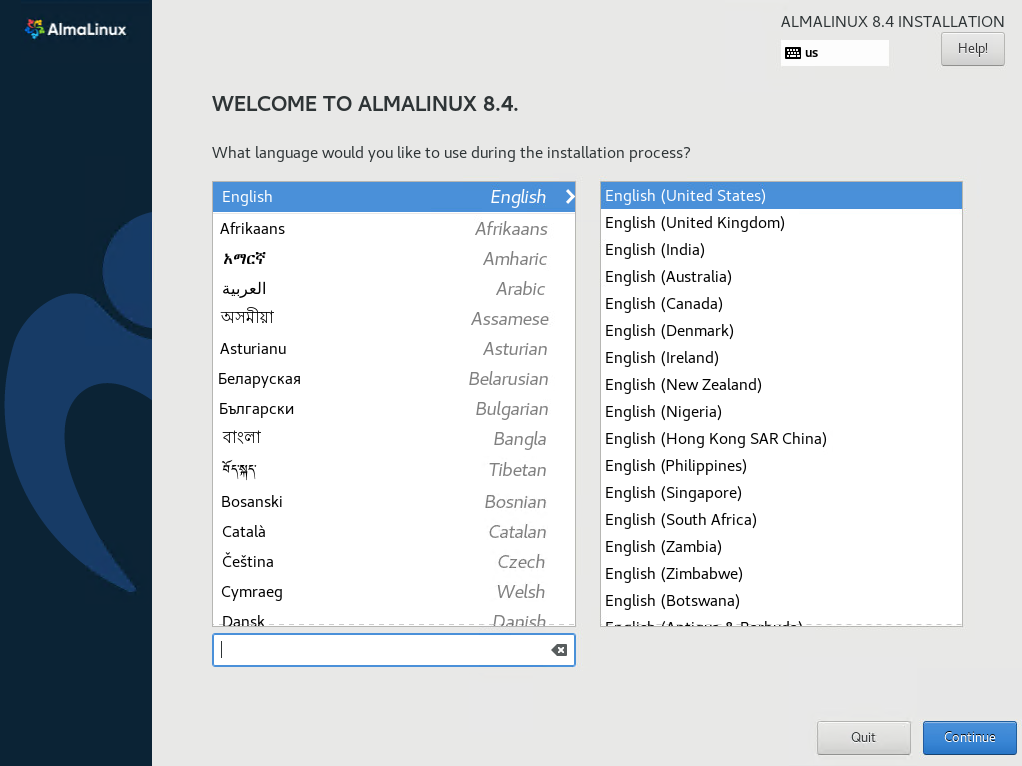
Step 8: Installing AlmaLinux
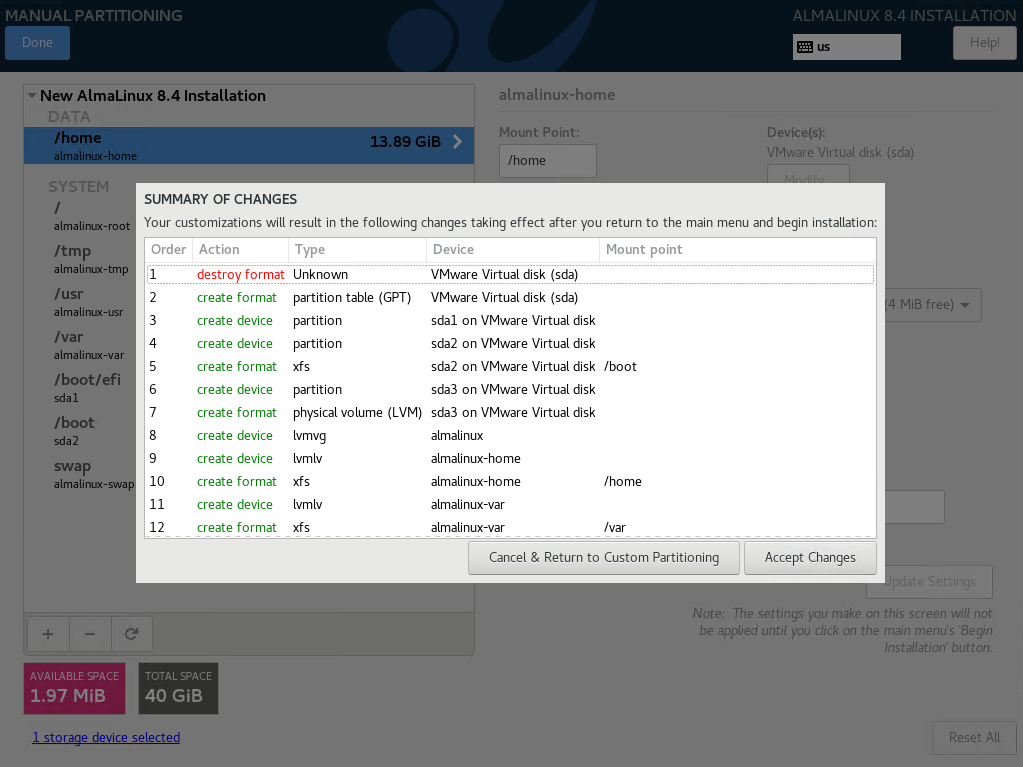
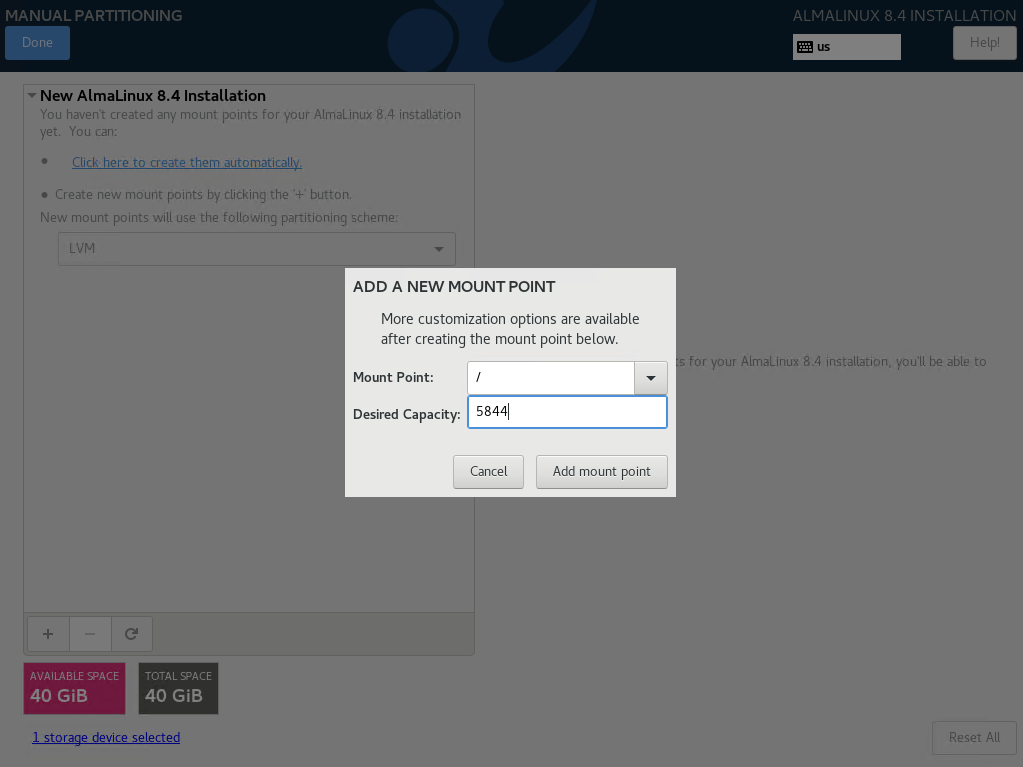
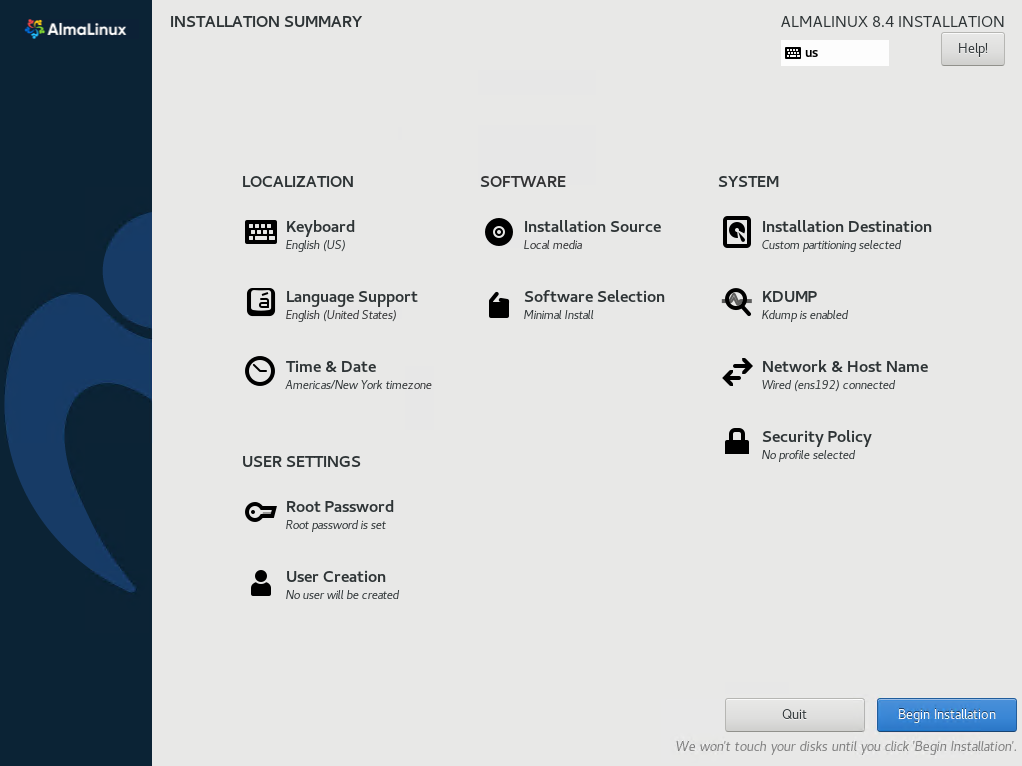
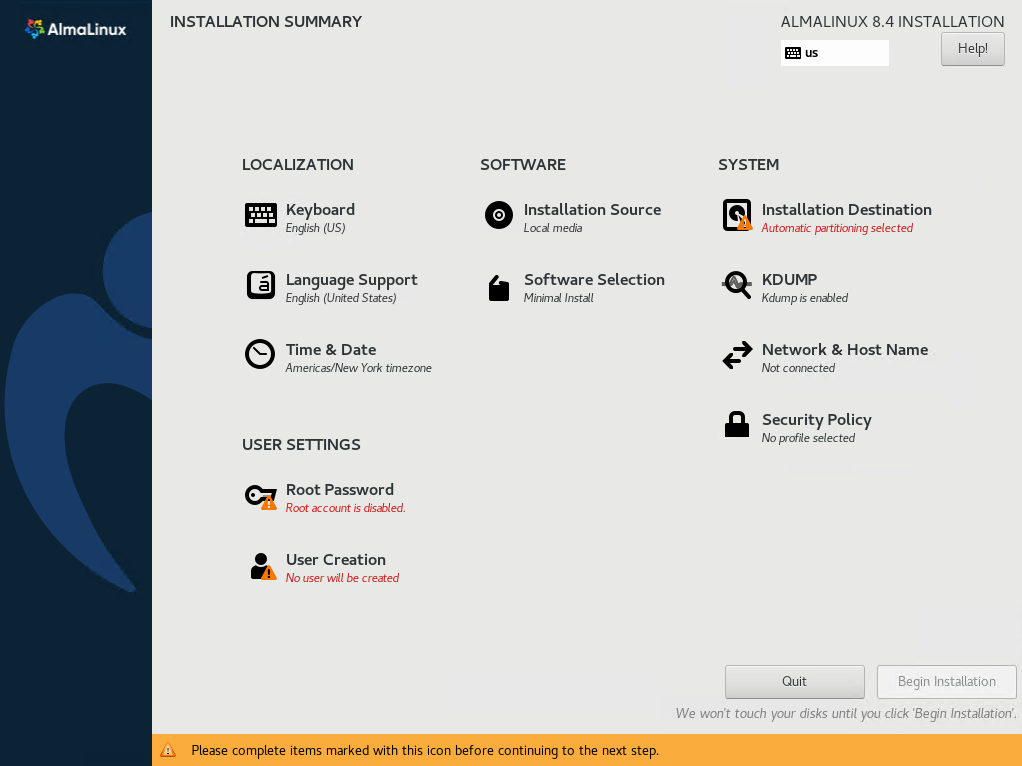
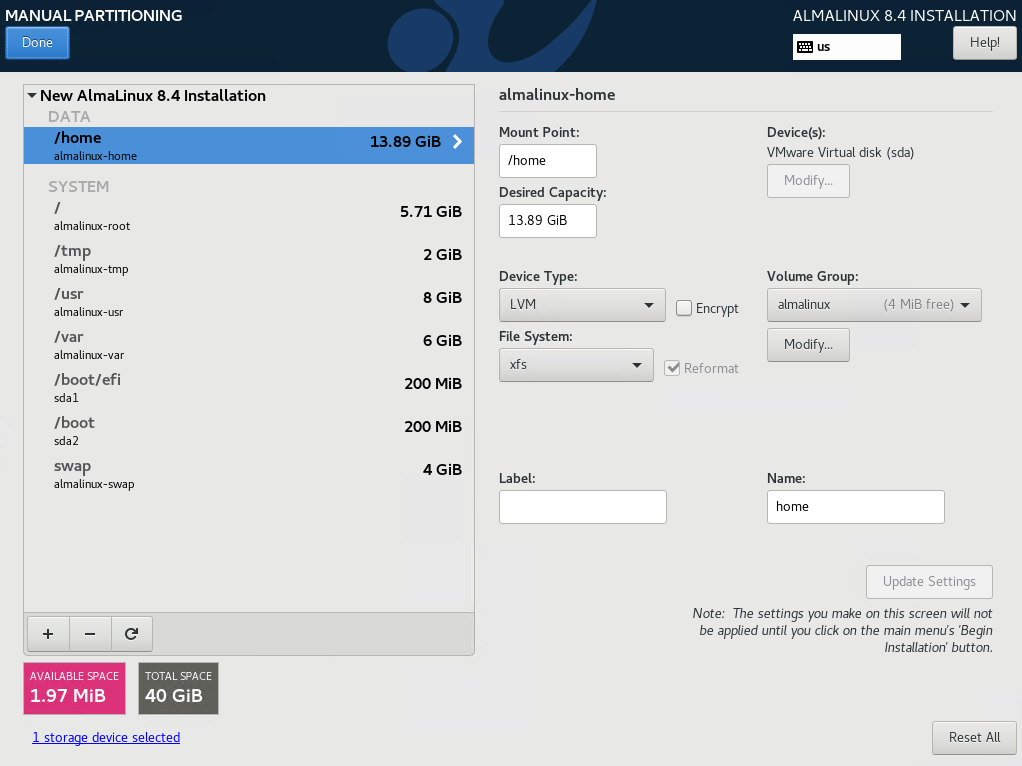
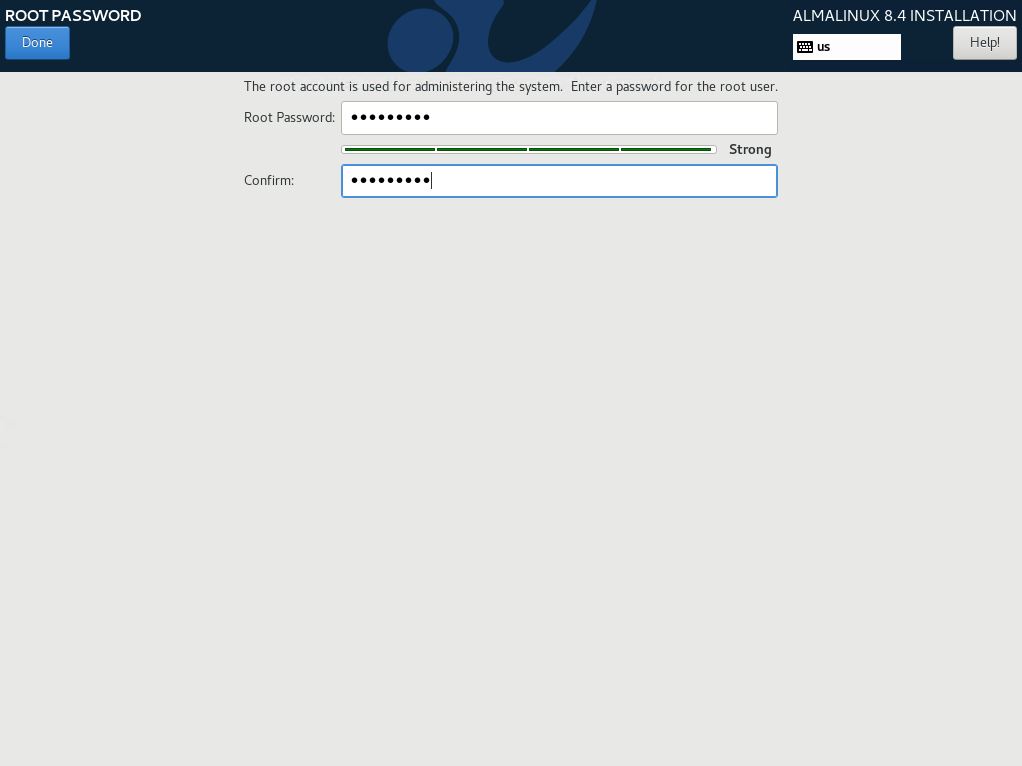
Follow the on-screen instructions to proceed with the installation. You’ll be prompted to select the installation language, keyboard layout, and storage configuration. Choose the options that best suit your needs.

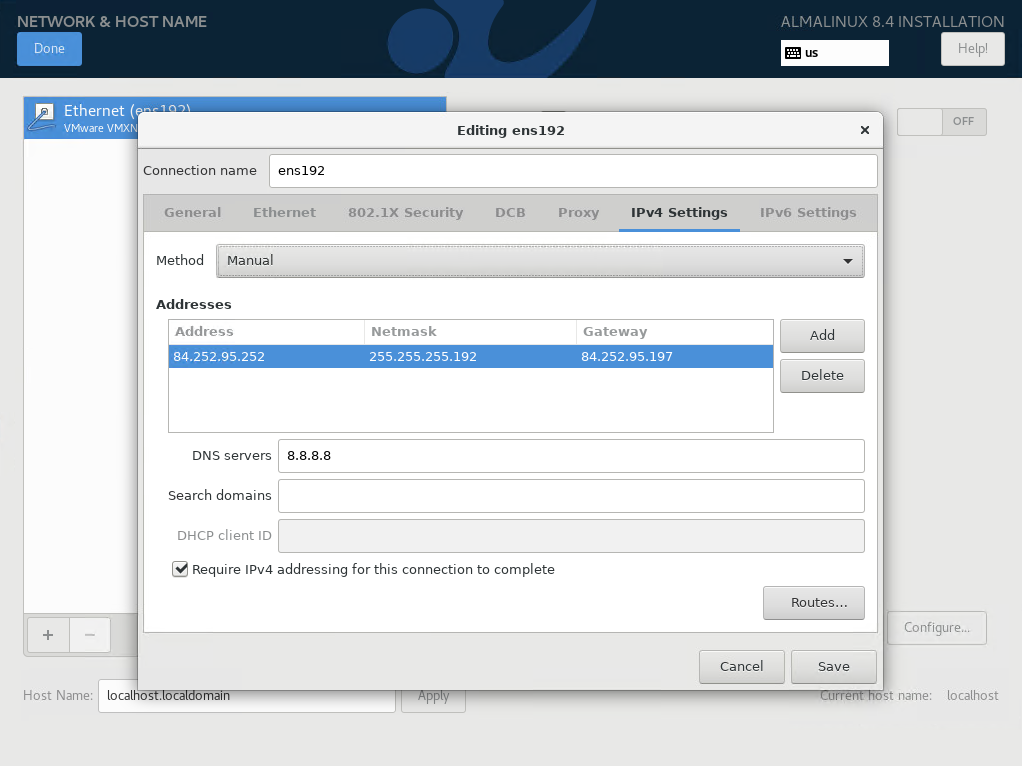
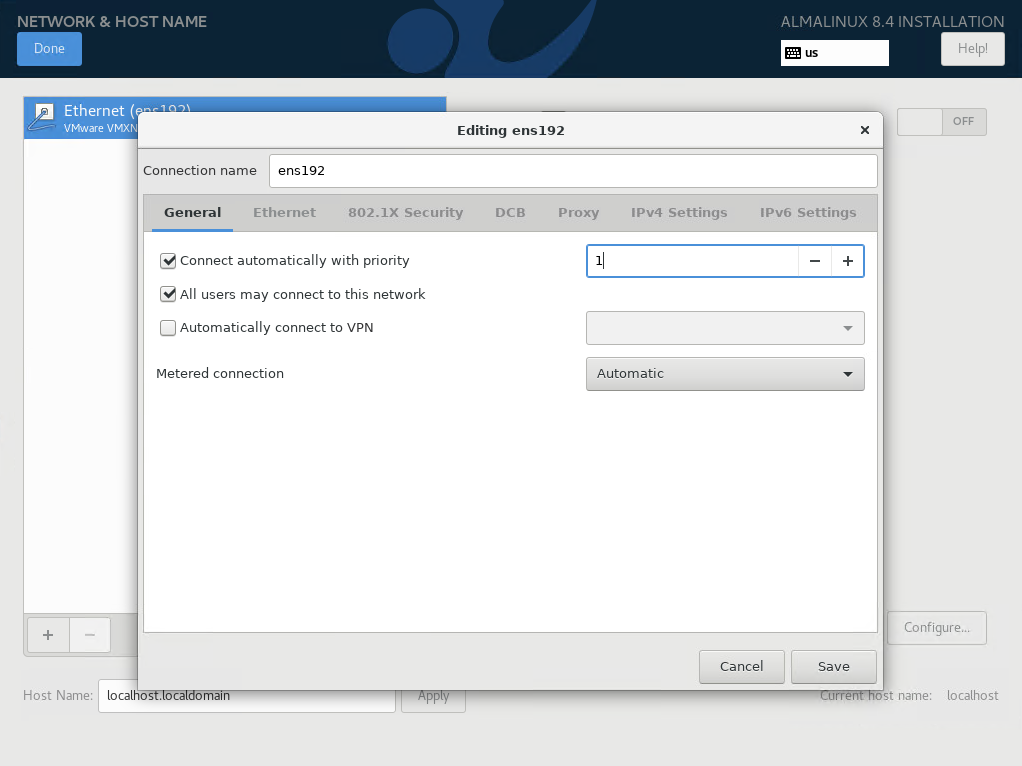

Step 9: Configuring Network and Firewall
During the installation process, you’ll have the option to configure network settings and firewall rules. Ensure you set up networking correctly to enable internet access and communication with other devices on your network.
Step 10: Completing the Installation
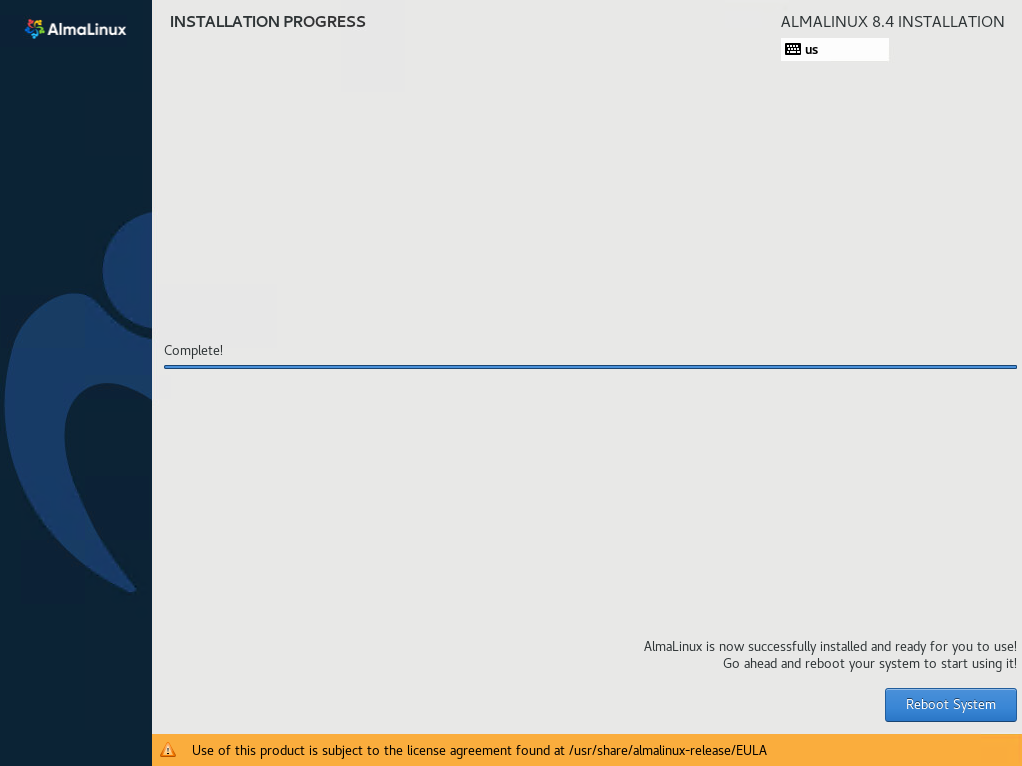
Once you’ve configured all the settings, proceed with the installation. AlmaLinux will be installed on your virtual machine, and you’ll receive a notification once the process is complete.
Step 11: Rebooting the Virtual Machine
After the installation is finished, reboot the virtual machine to finalize the setup. VMware will boot from the installed AlmaLinux operating system, and you’ll be prompted to log in with the credentials you set during the installation process.
Step 12: Updating the System
After logging in to AlmaLinux, it’s essential to update the system to ensure you have the latest security patches and software updates. Open a terminal and run the following commands:
sudo yum update
Conclusion: Congratulations! You’ve successfully installed AlmaLinux on VMware. By following this step-by-step guide, you’ve gained the necessary knowledge to set up AlmaLinux as a virtual machine on your system. Enjoy exploring the features and capabilities of AlmaLinux in your VMware environment.